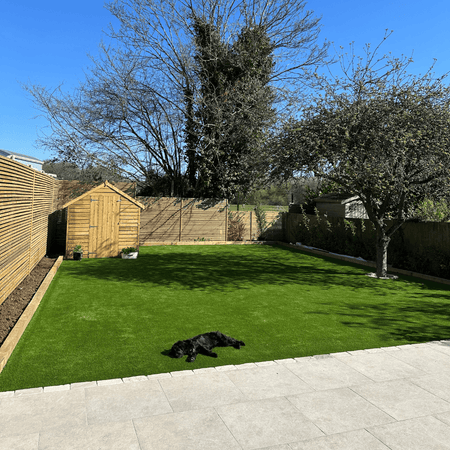
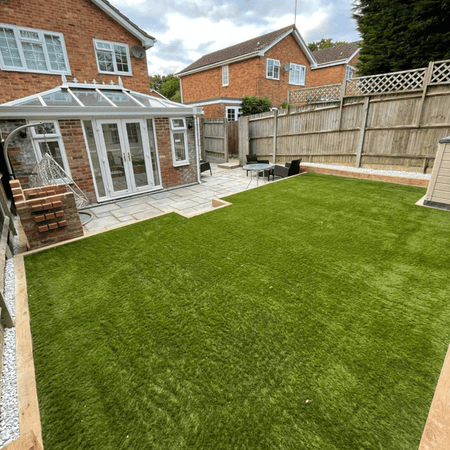
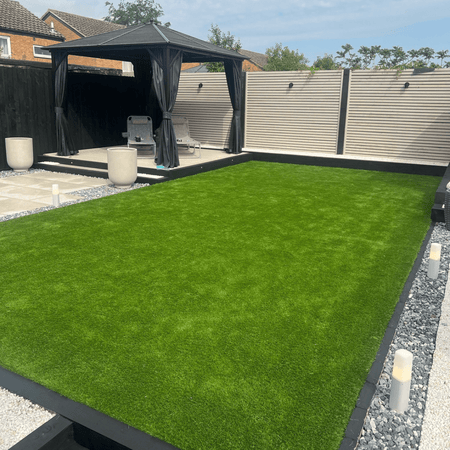
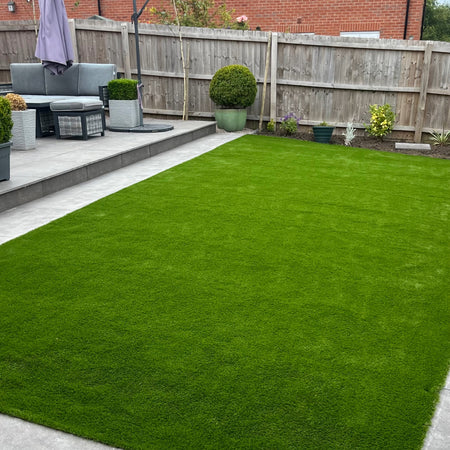
Yes, you can lay artificial grass on concrete, as long as the surface is stable, reasonably level, and able to drain properly.
Concrete can actually provide a solid base for artificial grass, making it a practical option for patios, balconies, courtyards, and other hard surfaces. The main things to get right are preparation, drainage, cushioning, and securing the grass properly.
Table of Contents
- Can you lay artificial grass directly on concrete?
- Check the concrete before you start.
- Clean and prepare the surface.
- Make sure drainage is suitable.
- Decide whether you need underlay.
- Measure and position the grass.
- Trim around edges and obstacles.
- Join multiple pieces if needed.
- Secure the grass to the concrete.
- Brush and finish the surface.
- Common mistakes to avoid.
Can You Lay Artificial Grass Directly on Concrete?
Yes, artificial grass can be laid over concrete, provided the surface is in good condition.
Unlike soil installations, you do not need to excavate the area or create a stone and sand base. The concrete itself acts as the foundation.
However, the surface still needs to be properly prepared before the grass goes down.
Concrete should be:
- Clean.
- Dry.
- Stable.
- Free from loose debris.
- Reasonably smooth and level.
Any major cracks or damaged sections should be repaired before installation begins.
1. Check the Concrete Before You Start
Inspect the whole area before rolling out the grass.
Small imperfections may not cause a problem, but large cracks, raised sections, or deep dips can affect the finished surface.
Artificial grass will follow the shape underneath it, so an uneven concrete base can leave the lawn looking bumpy.
Look out for:
- Cracks.
- Loose concrete.
- Raised edges.
- Deep dips.
- Areas where water collects.
Deal with any significant issues before moving on.
2. Clean and Prepare the Surface
Once you are happy with the condition of the concrete, give it a thorough clean.
Sweep away dust, stones, leaves, and other debris. Dirt trapped underneath the grass can create uneven areas and may prevent adhesive from bonding properly.
If the surface needs washing, allow it to dry completely before continuing.
A clean, dry base gives you a much better starting point for installation.
3. Make Sure Drainage Is Suitable
Drainage is especially important when laying artificial grass on a hard surface.
Water needs somewhere to go after rain or cleaning. If the concrete already slopes towards a drain or suitable runoff point, this can make installation much easier.
Avoid laying artificial grass over an area where water regularly pools.
Before fitting, check:
- Where rainwater currently drains.
- Whether any drains will be covered.
- Whether water sits in low areas.
- Whether the existing slope is suitable.
Good drainage helps prevent standing water beneath or around the grass.
4. Should You Use Underlay on Concrete?
Using artificial grass underlay on concrete is recommended if you want a softer and more comfortable surface underfoot.
Underlay can also help absorb impact and protect the grass from the harder surface underneath. This can be particularly useful for play areas, balconies, patios, and spaces where children regularly use the lawn.
The accessories range includes Performance Artificial Grass Underlay designed for installations over hard surfaces such as concrete and decking.
Underlay can help provide:
- A softer feel underfoot.
- Additional cushioning.
- Better impact absorption.
- Protection between the grass and concrete.
5. Measure and Position the Artificial Grass
Measure the area carefully before cutting anything.
Roll the artificial grass into position and check the direction of the pile. Grass generally looks best when the fibres are facing towards the main viewing point.
Leave a little excess around the edges while positioning it.
Check that:
- The grass covers the entire area.
- The pile runs in the correct direction.
- Multiple sections face the same way.
- There is enough material for final trimming.
Allowing the grass to settle before making the final cuts can also help remove curls from being rolled.
6. Trim Around Edges and Obstacles
Once the grass is positioned properly, trim the excess around the perimeter.
A sharp retractable knife makes it easier to create controlled cuts around walls, steps, posts, and other fixed features. The accessories range includes a retractable knife with replacement blades for artificial grass installation.
Take extra care around:
- Walls.
- Doorways.
- Steps.
- Posts.
- Drain covers.
- Patio edges.
Trim gradually rather than trying to create the final shape in one cut.
7. Join Multiple Pieces if Needed
Larger areas may require more than one piece of artificial grass. Before joining them, make sure both sections have the pile running in exactly the same direction.
Position the edges carefully and use joining tape with a suitable adhesive underneath the seam. The accessories range includes joining tape and glue cartridges for securing separate pieces together.
For a cleaner join:
- Align the pile direction.
- Position the edges before applying adhesive.
- Keep fibres away from the glue.
- Work gradually along the seam.
- Brush over the join when finished.
8. Secure the Artificial Grass to the Concrete
On concrete, adhesive is generally used instead of nails or U pins.
Our wet fix artificial grass adhesive is designed for hard surfaces and can be used to secure the grass around the perimeter or across the installation where required. The current accessories range specifically recommends wet fix adhesive for artificial grass laid on hard surfaces.
When using adhesive:
- Make sure the concrete is clean and dry.
- Position the grass before applying it.
- Follow the adhesive instructions.
- Avoid getting adhesive onto the grass fibres.
- Allow enough time for the adhesive to set.
Working in manageable sections helps prevent the grass from shifting while you secure it.
9. Brush and Finish the Surface
Once the grass is secured and the adhesive has set, brush the pile against its natural direction.
This helps lift fibres that may have flattened while the grass was rolled or installed. Check the whole area for any edges that need adjusting and make sure seams sit neatly.
Before finishing, check for:
- Loose edges.
- Visible joins.
- Creases.
- Raised sections.
- Areas of flattened pile.
A final brush can make a noticeable difference to the finished appearance.
Common Mistakes to Avoid
Artificial grass can work extremely well over concrete, but skipping the preparation stages can affect the result.
Common mistakes include:
- Laying grass over damaged concrete.
- Ignoring poor drainage.
- Installing over a dirty or wet surface.
- Cutting the grass too short.
- Using the wrong adhesive.
- Joining sections with the pile facing different directions.
- Covering drainage points.
- Skipping underlay where extra cushioning is needed.
Taking time to prepare the surface properly makes installation much easier.
What Accessories Do You Need for Concrete?
The exact accessories depend on the size and layout of the area, but a concrete installation may require:
• Joining tape.
• Glue cartridges for seams and smaller areas.
• A retractable knife and blades.
• A caulking gun if using cartridge adhesive.
The artificial grass accessories range includes adhesives, underlay, joining products, fixing accessories, and installation tools for different surfaces.
Turn Concrete Into a Greener Space
So, can you lay artificial grass on concrete? Yes.
As long as the concrete is stable, clean, and able to drain properly, it can provide a strong base for artificial grass. Good preparation, suitable underlay, careful trimming, and the right adhesive can turn an old patio, courtyard, or other hard surface into a softer and greener outdoor space.
Explore the full artificial grass range and installation accessories to get everything you need for your project.