Laying artificial grass on soil involves more than unrolling a turf roll. To get a smooth, stable, and long-lasting finish, you’ll need the right base and fixings from start to finish. Below is a step-by-step guide that walks you through preparation, installation and finishing.
1. Prepare the Area
Begin by removing existing turf, roots, stones and debris. Dig down to create a level surface. Once the soil is levelled and compacted, you’ll want a good underlay or membrane before the turf to help stabilise the area.
Product to use:
-
10mm Performance Artificial Grass Underlay – offers cushioning, drainage and support for uneven ground.
2. Choose Your Turf Roll
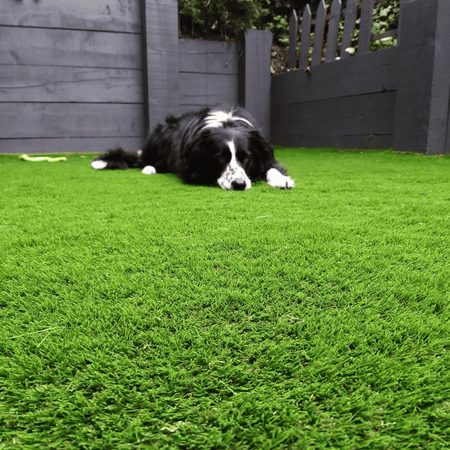
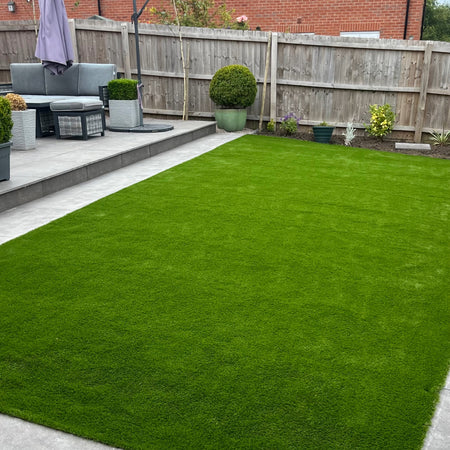
Select an artificial grass roll that suits your usage (family garden, pets, heavy-traffic).
Check out the range
3. Secure Down the Edges
Once the turf is laid over the prepared soil (and underlay if used), you’ll need to secure the edges so the lawn stays properly in place.
Products to use:
-
Galvanised Steel U-Pins — pack of U-shaped pins, ideal for edges or uneven ground.
-
Standard Galvanised Nails — pack of 20 green-topped nails for perimeter fixing with timber or edging.
4. Joining Two Pieces of Turf
If your area requires more than one roll of turf, you’ll need to join the seams correctly for a seamless appearance.
Products to use:
-
Joining Tape — 10m roll of tape to sit under the seam.
-
Glue Cartridge — 290ml single-part adhesive to use with the joining tape.
5. Final Checks & Maintenance
After installation check that all edges are secure, seams are invisible and turf is flat and even. Regular brushing and cleaning will extend the life of your lawn.
Grass Warehouse offers detailed installation and maintenance guides.
Summary
By using the right base preparation and selecting suitable accessories, from underlay to fixings and seam products, you’ll ensure your artificial grass on soil looks professional and performs over time.